1. Create your trigger and then add an action
First, you’re going to create your trigger. This can be literally anything. Gravity Forms submission, new subscriber to an email list, whatever makes sense for your use case.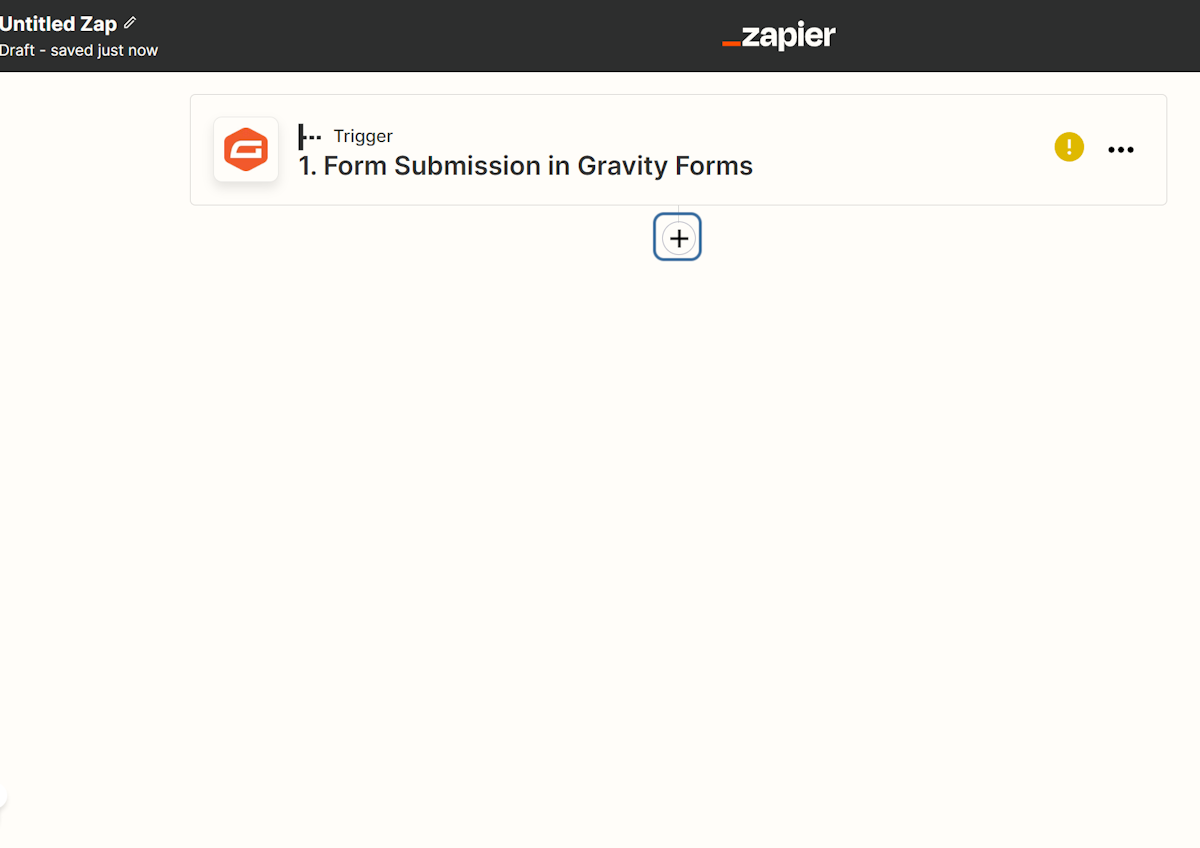
2. Select Webhooks by Zapier
You need to have a premium account to add webhooks in Zapier, but this feature alone is worth the extra cost for my agency, because of how much time this is going to save us.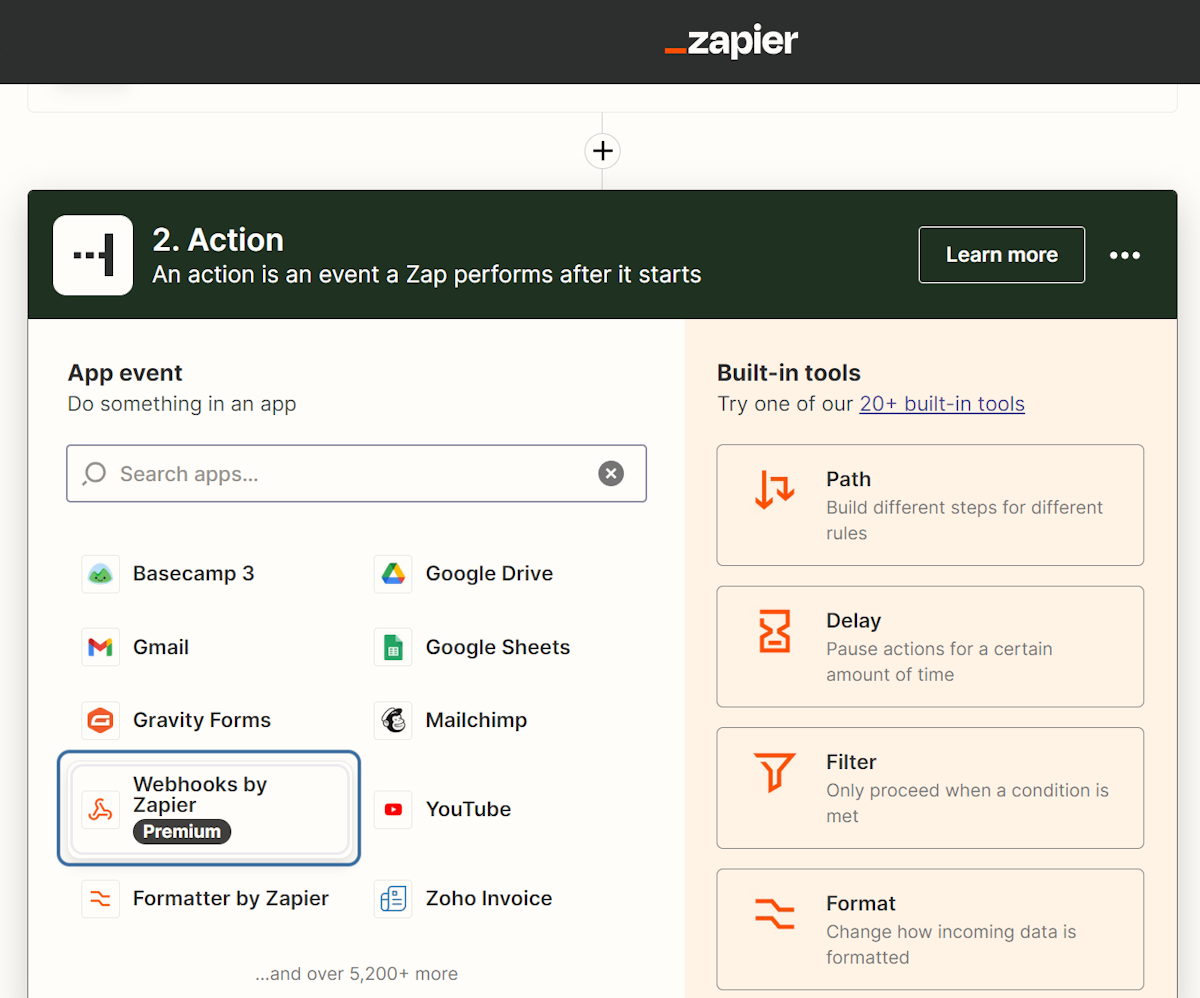
3. For the Event type, select POST.
This is the first step of the process. You need to authenticate with Cloudways. Once you do, Cloudways will return an access_token that must be included with all further steps. This token is good for 60 minutes, so you’ll have plenty of time to test and run your automations in the real world.
Cloudways API for this step here: https://developers.cloudways.com/docs/#!/AuthenticationApi#getOAuthAccessToken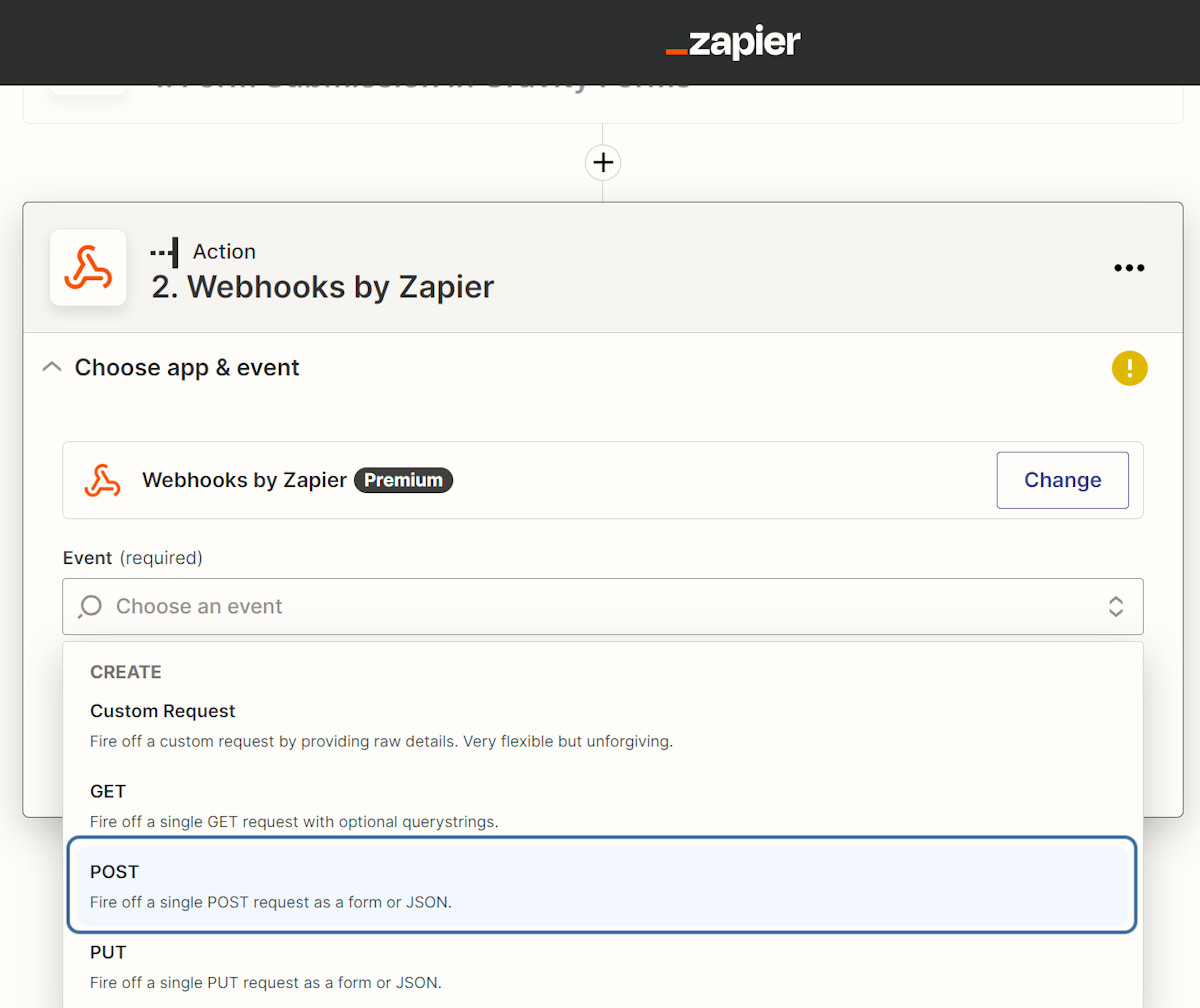
4. Go to Cloudways API Documentation
https://developers.cloudways.com/docs/#!/AuthenticationApi#getOAuthAccessToken
5. Copy the authentication API URL
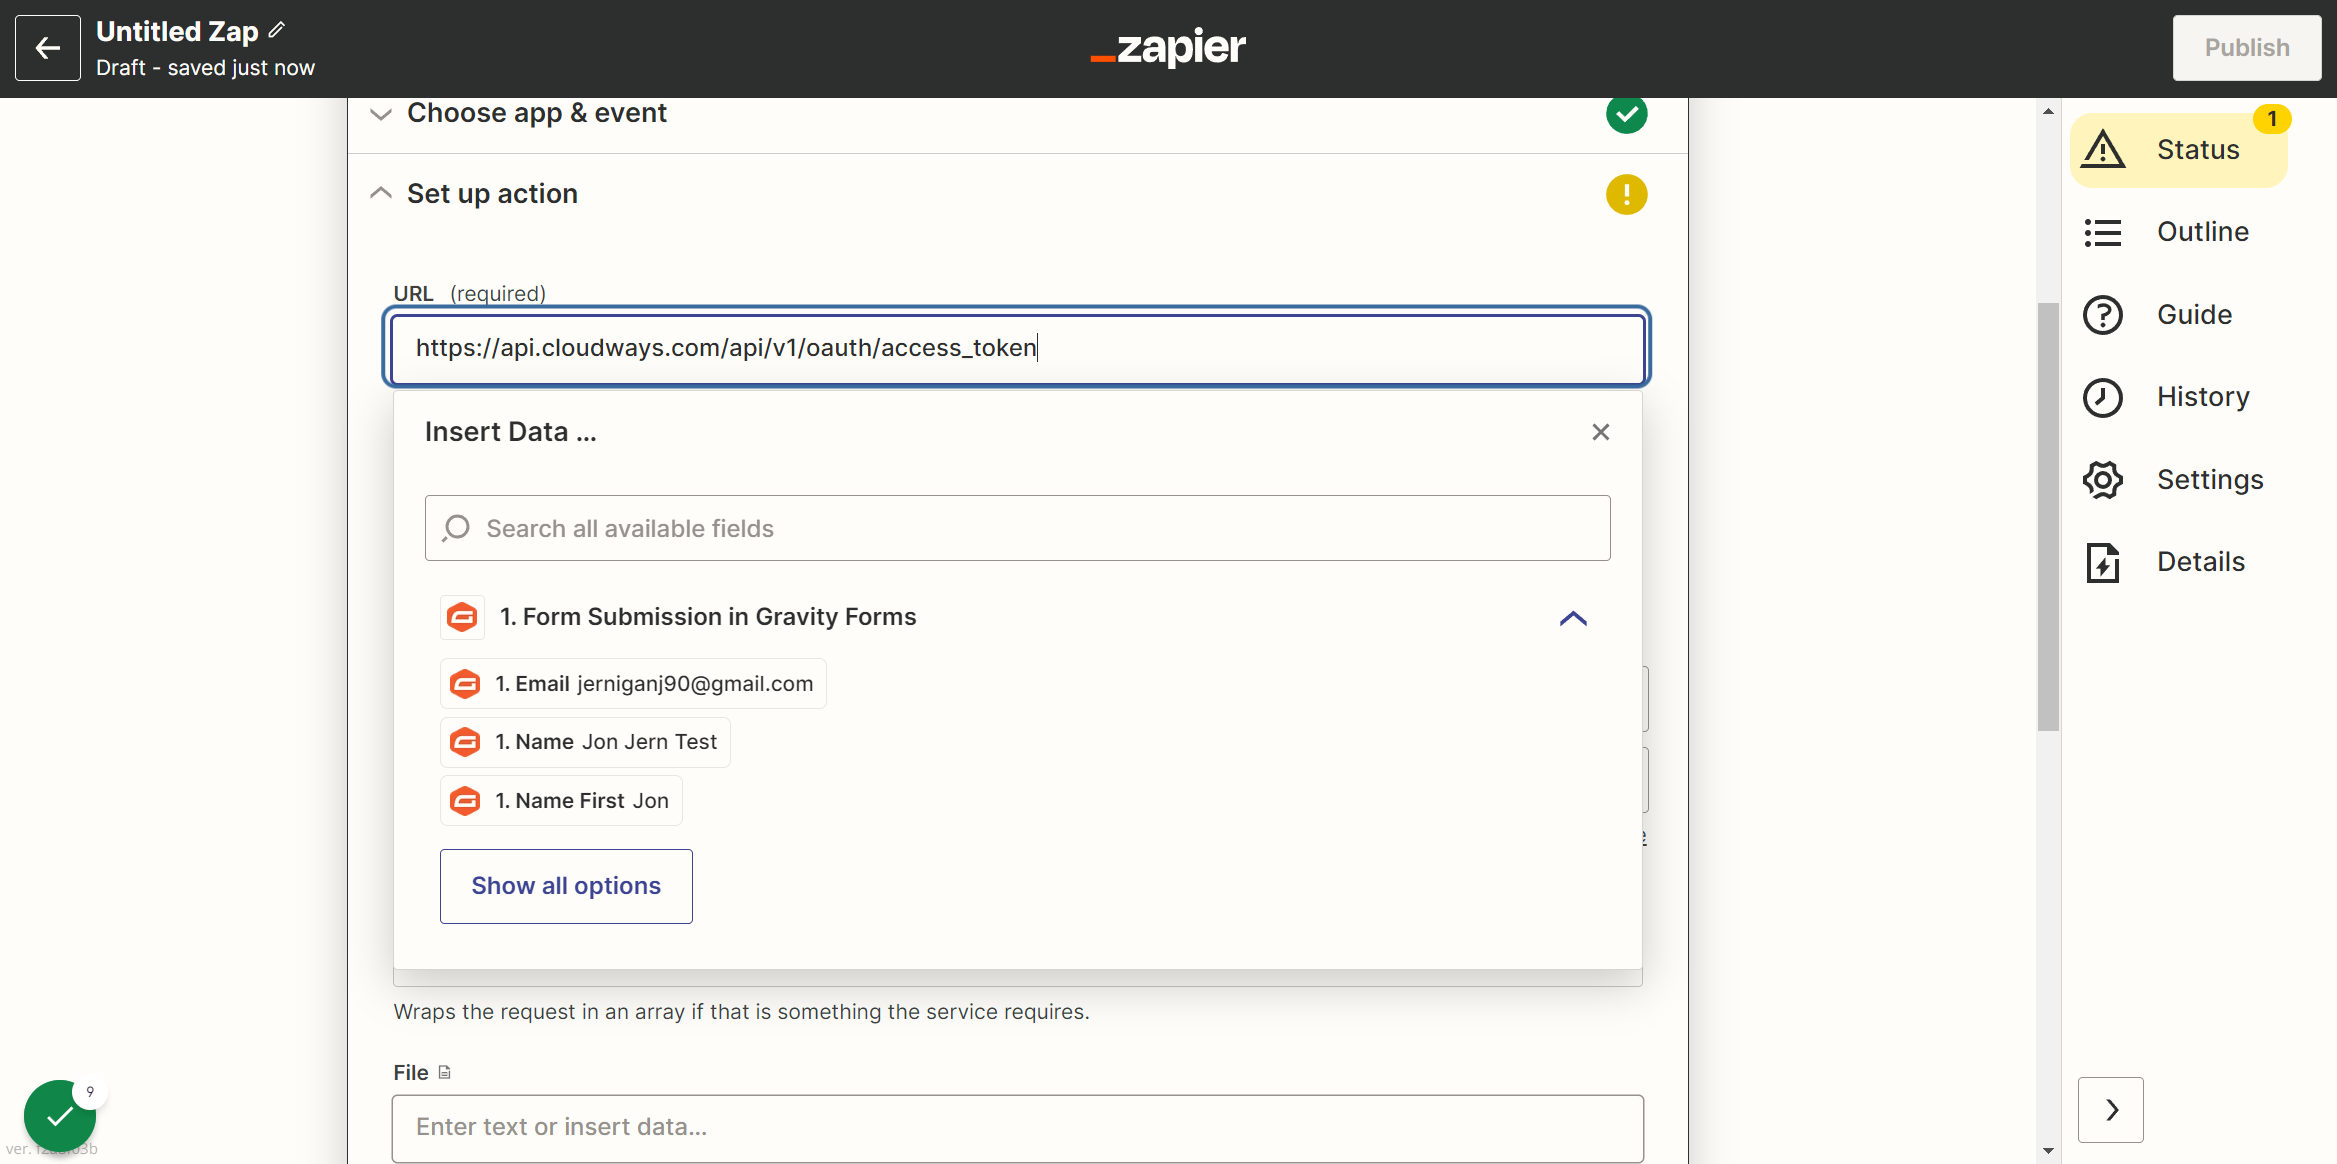
The endpoint URL should look like this: https://api.cloudways.com/api/v1/oauth/access_token
6. Go back to Zapier
Now, you’re going to take the API endpoint URL you copied from step 5 and paste it into your webhook in the URL field
7. Click on Payload Type and change to json
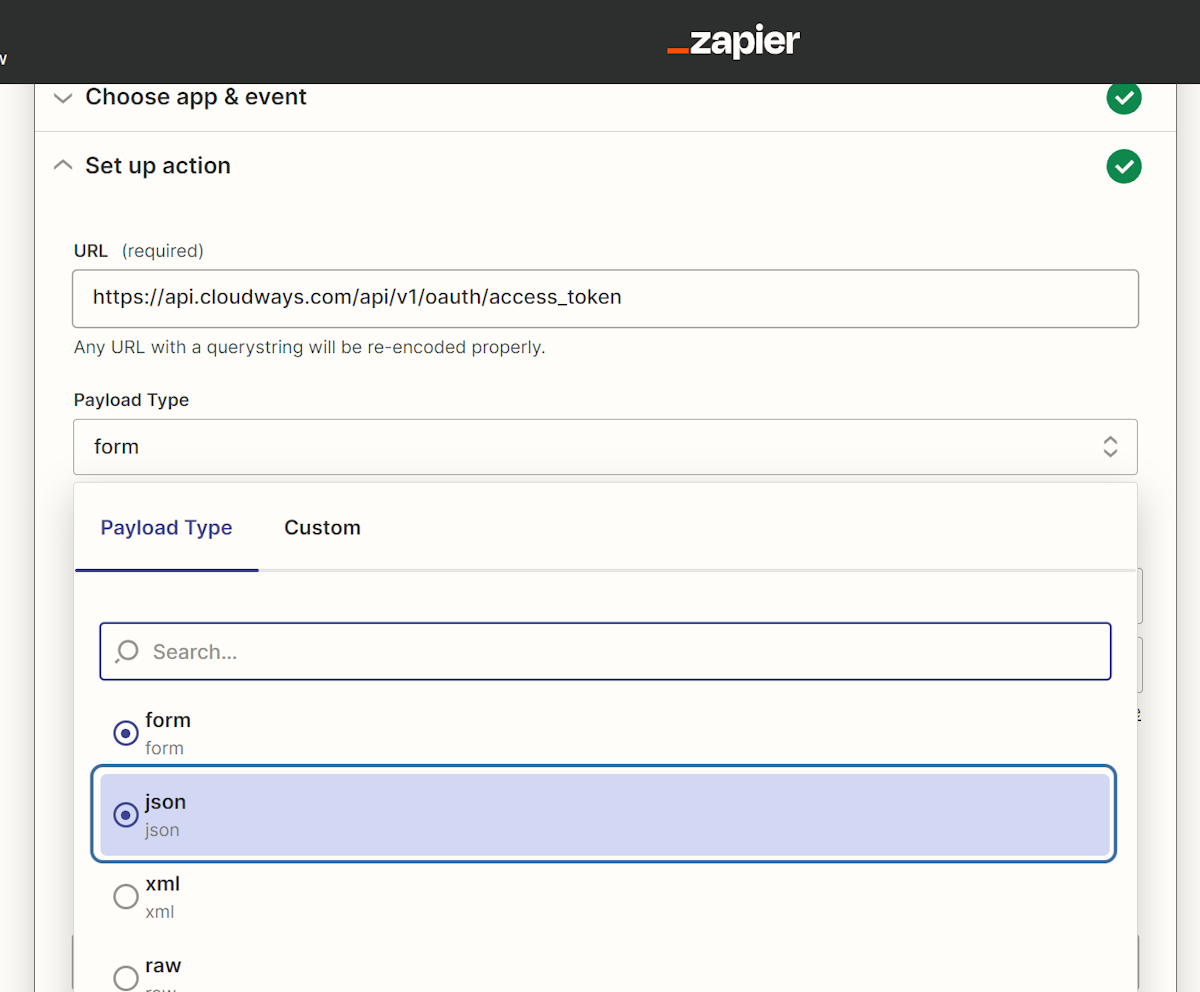
8. Now you’re going to add the required query parameters
In the Cloudways documentation, you can see the required data for each API call. In this case, the authentication step requires your Cloudways email address and my Cloudways API key.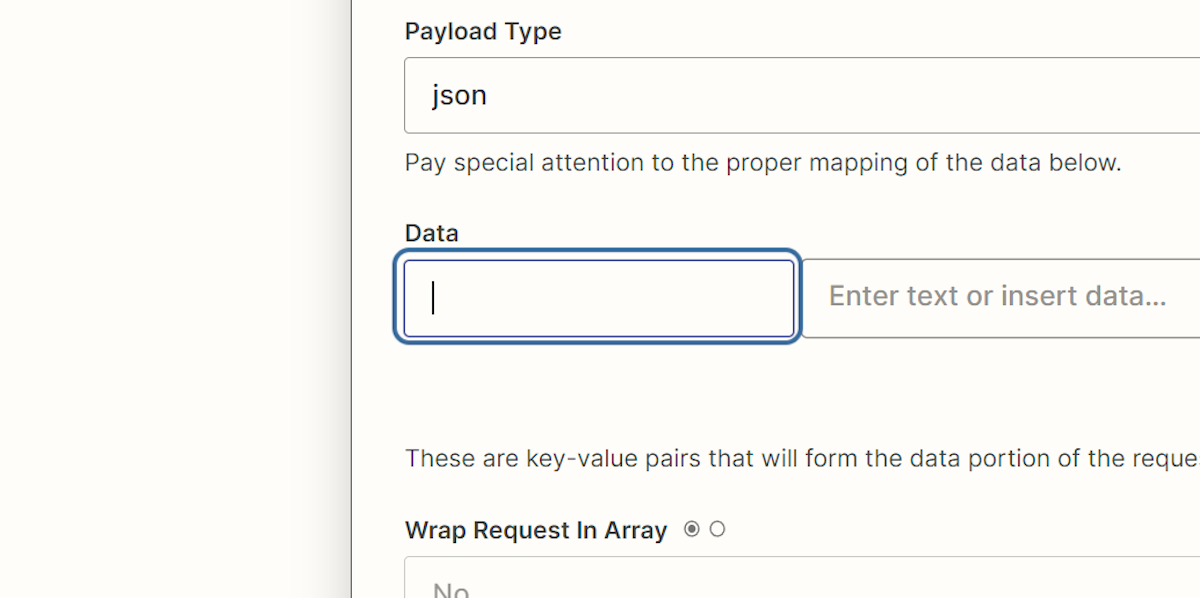
9. Enter your email address as shown
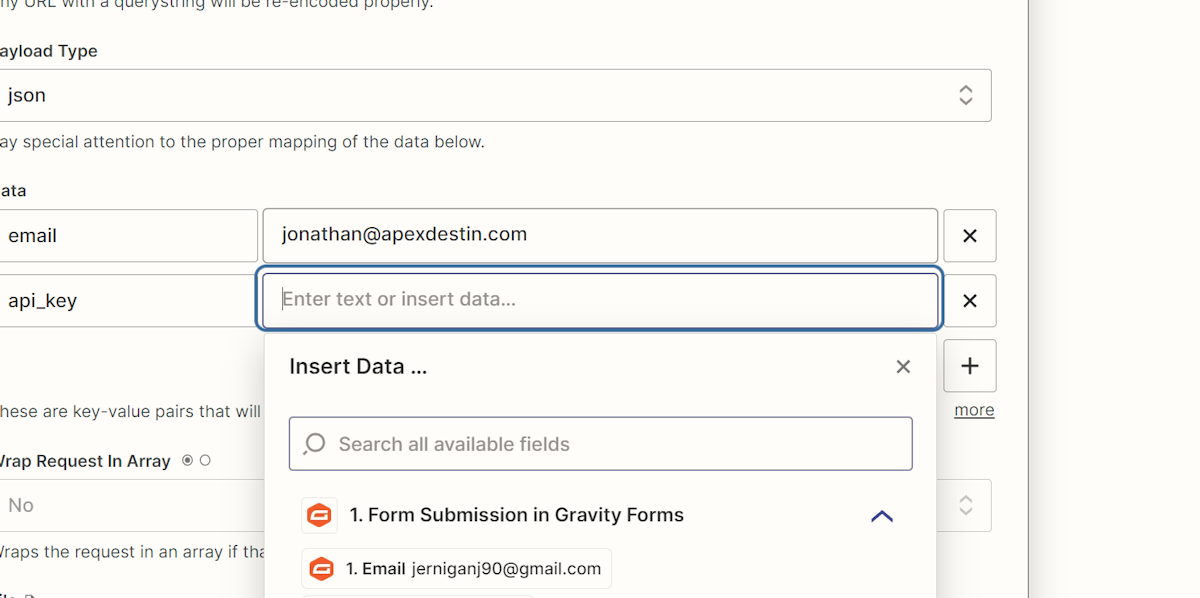
10. How to get your Cloudways API key
Go to Cloudways dashboard, click the little dots and choose API from the dropdown.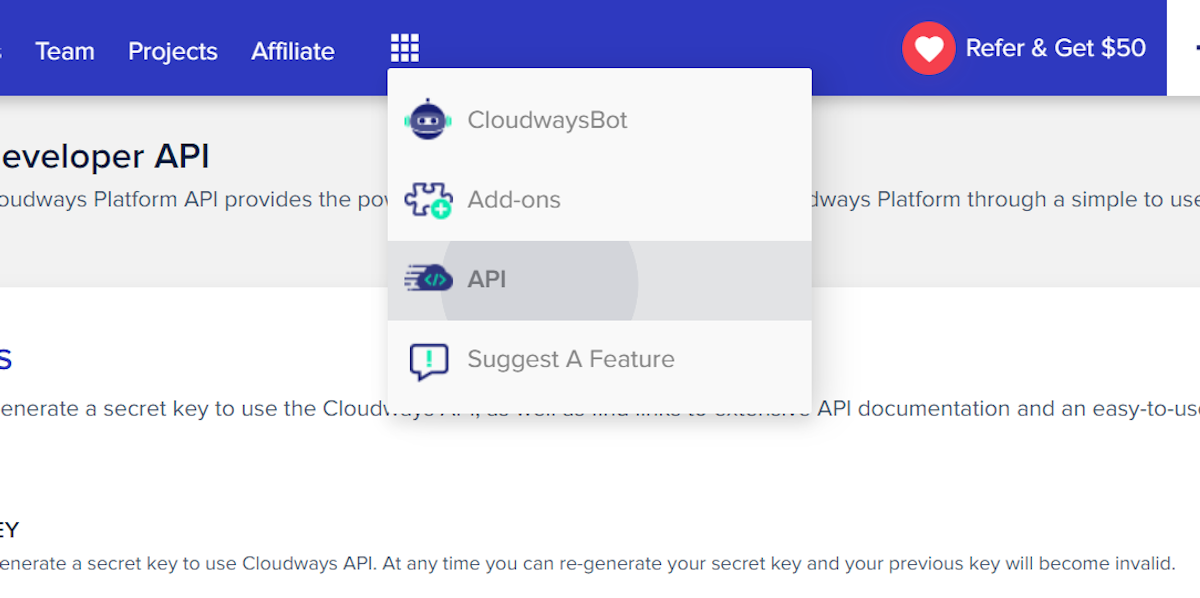
11. Click to copy your API key
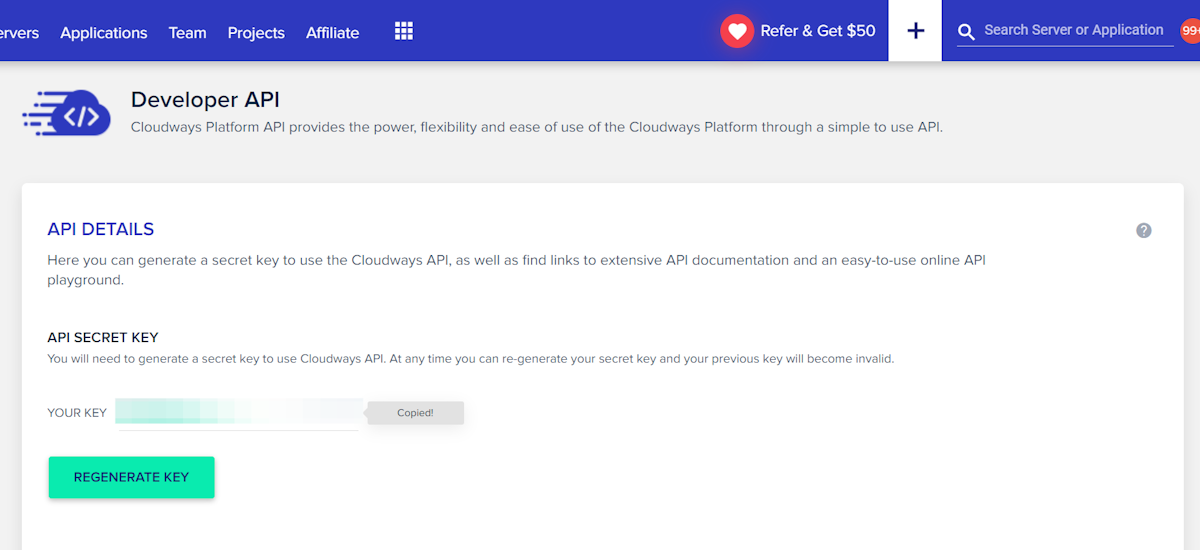
12. Paste your key into the api_key field as shown
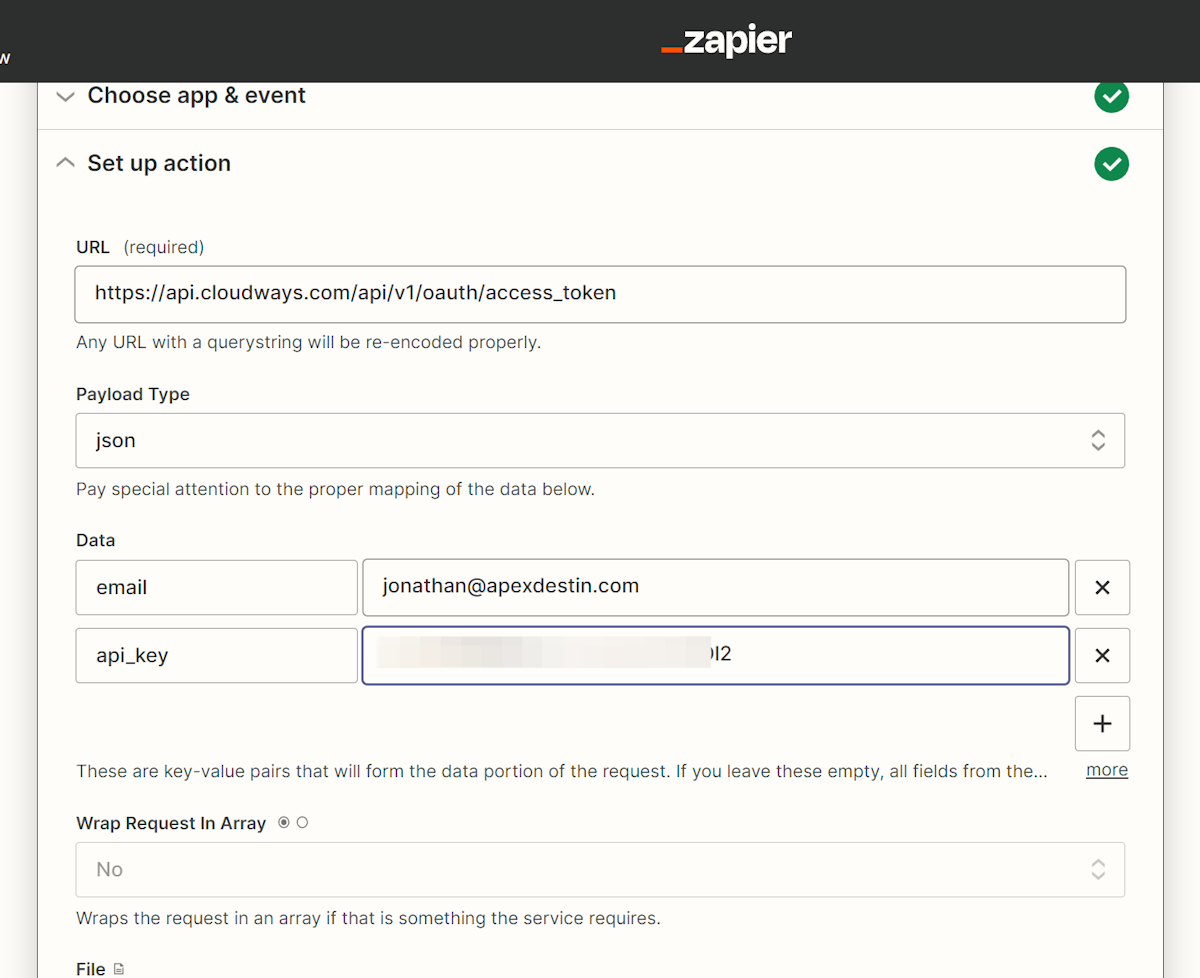
13. Click on Continue and then Test & Review
What you’ll see in the test data returned from Cloudways is your access_token which is the temporary authentication token you’ll include with all future requests, along with whatever data is required for that API call
14. Now add another action
15. Click on Webhooks by Zapier…
This is going to be our “clone” operation step in Cloudways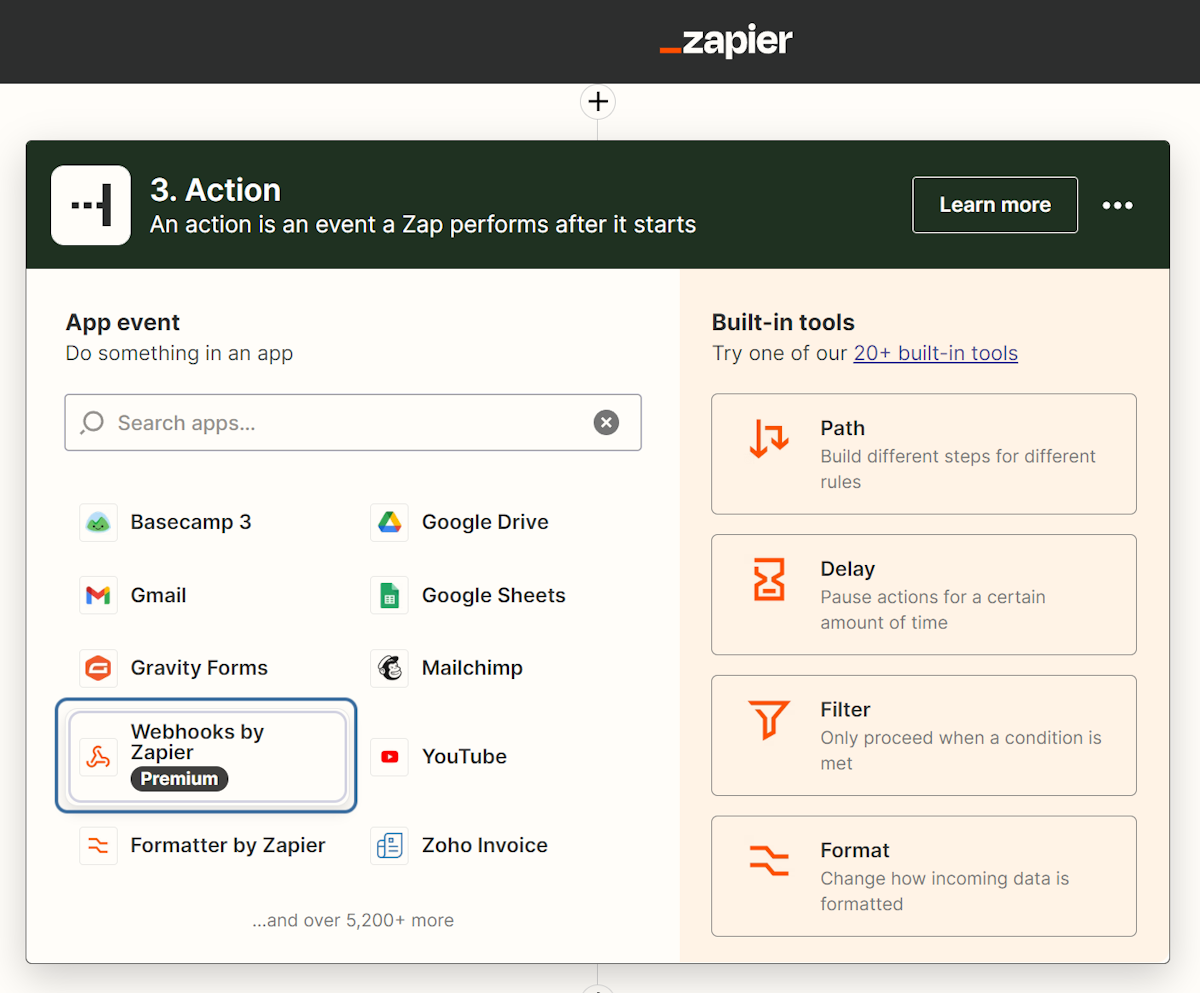
16. Again, select event type of POST
Be sure to check the documentation from Cloudways on what event type to select. Sometimes it will be POST, other times it will be FORM. Each API call will show you before the API endpoint url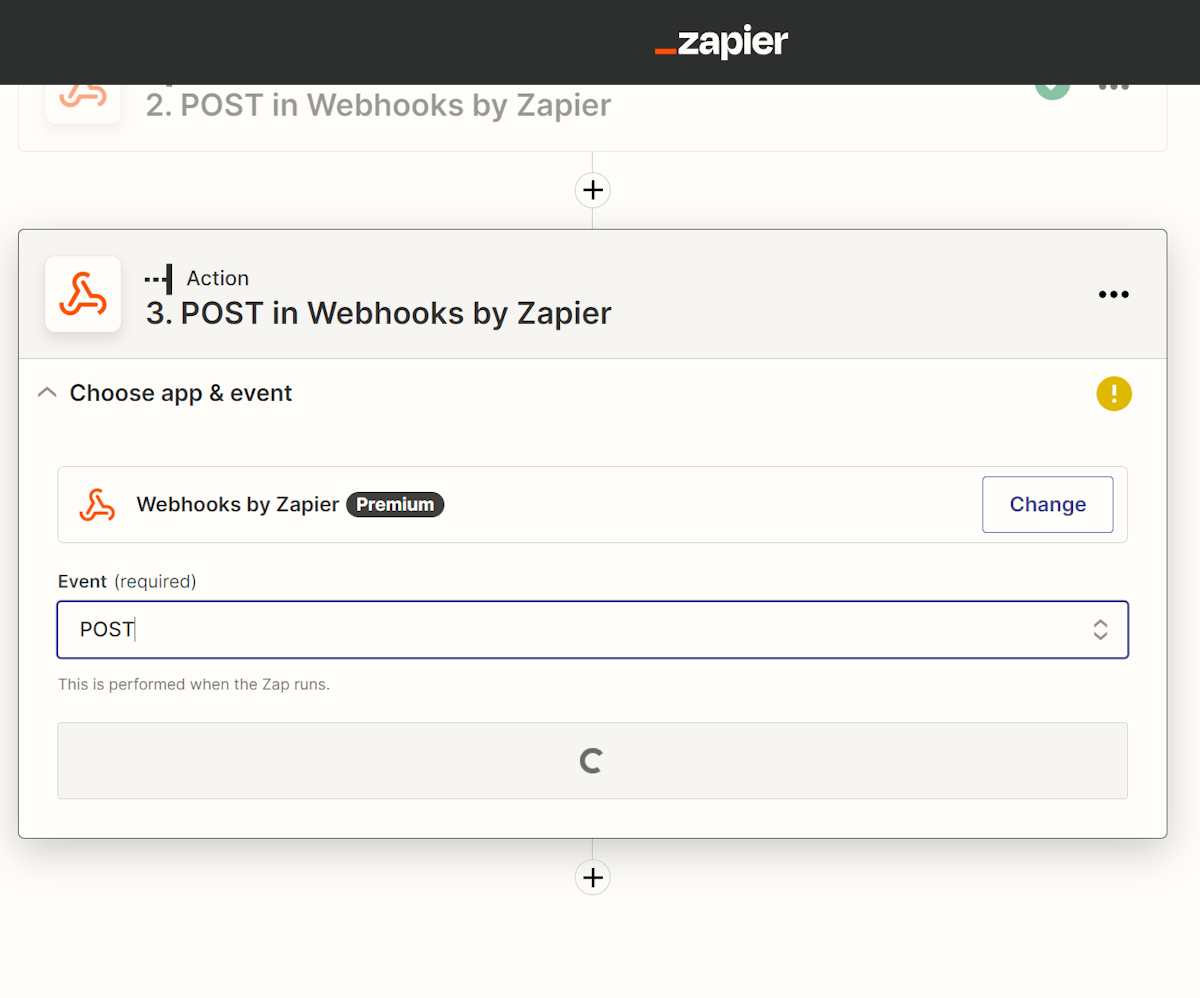
17. Go back to Cloudways API documentation
Search the word clone and you’ll see “Application > Clone” which is what we want in this example. Alternatively, you can use Clone to new server which will add just a few extra required data fields to include. Same principle, though.
18. Copy the API endpoint
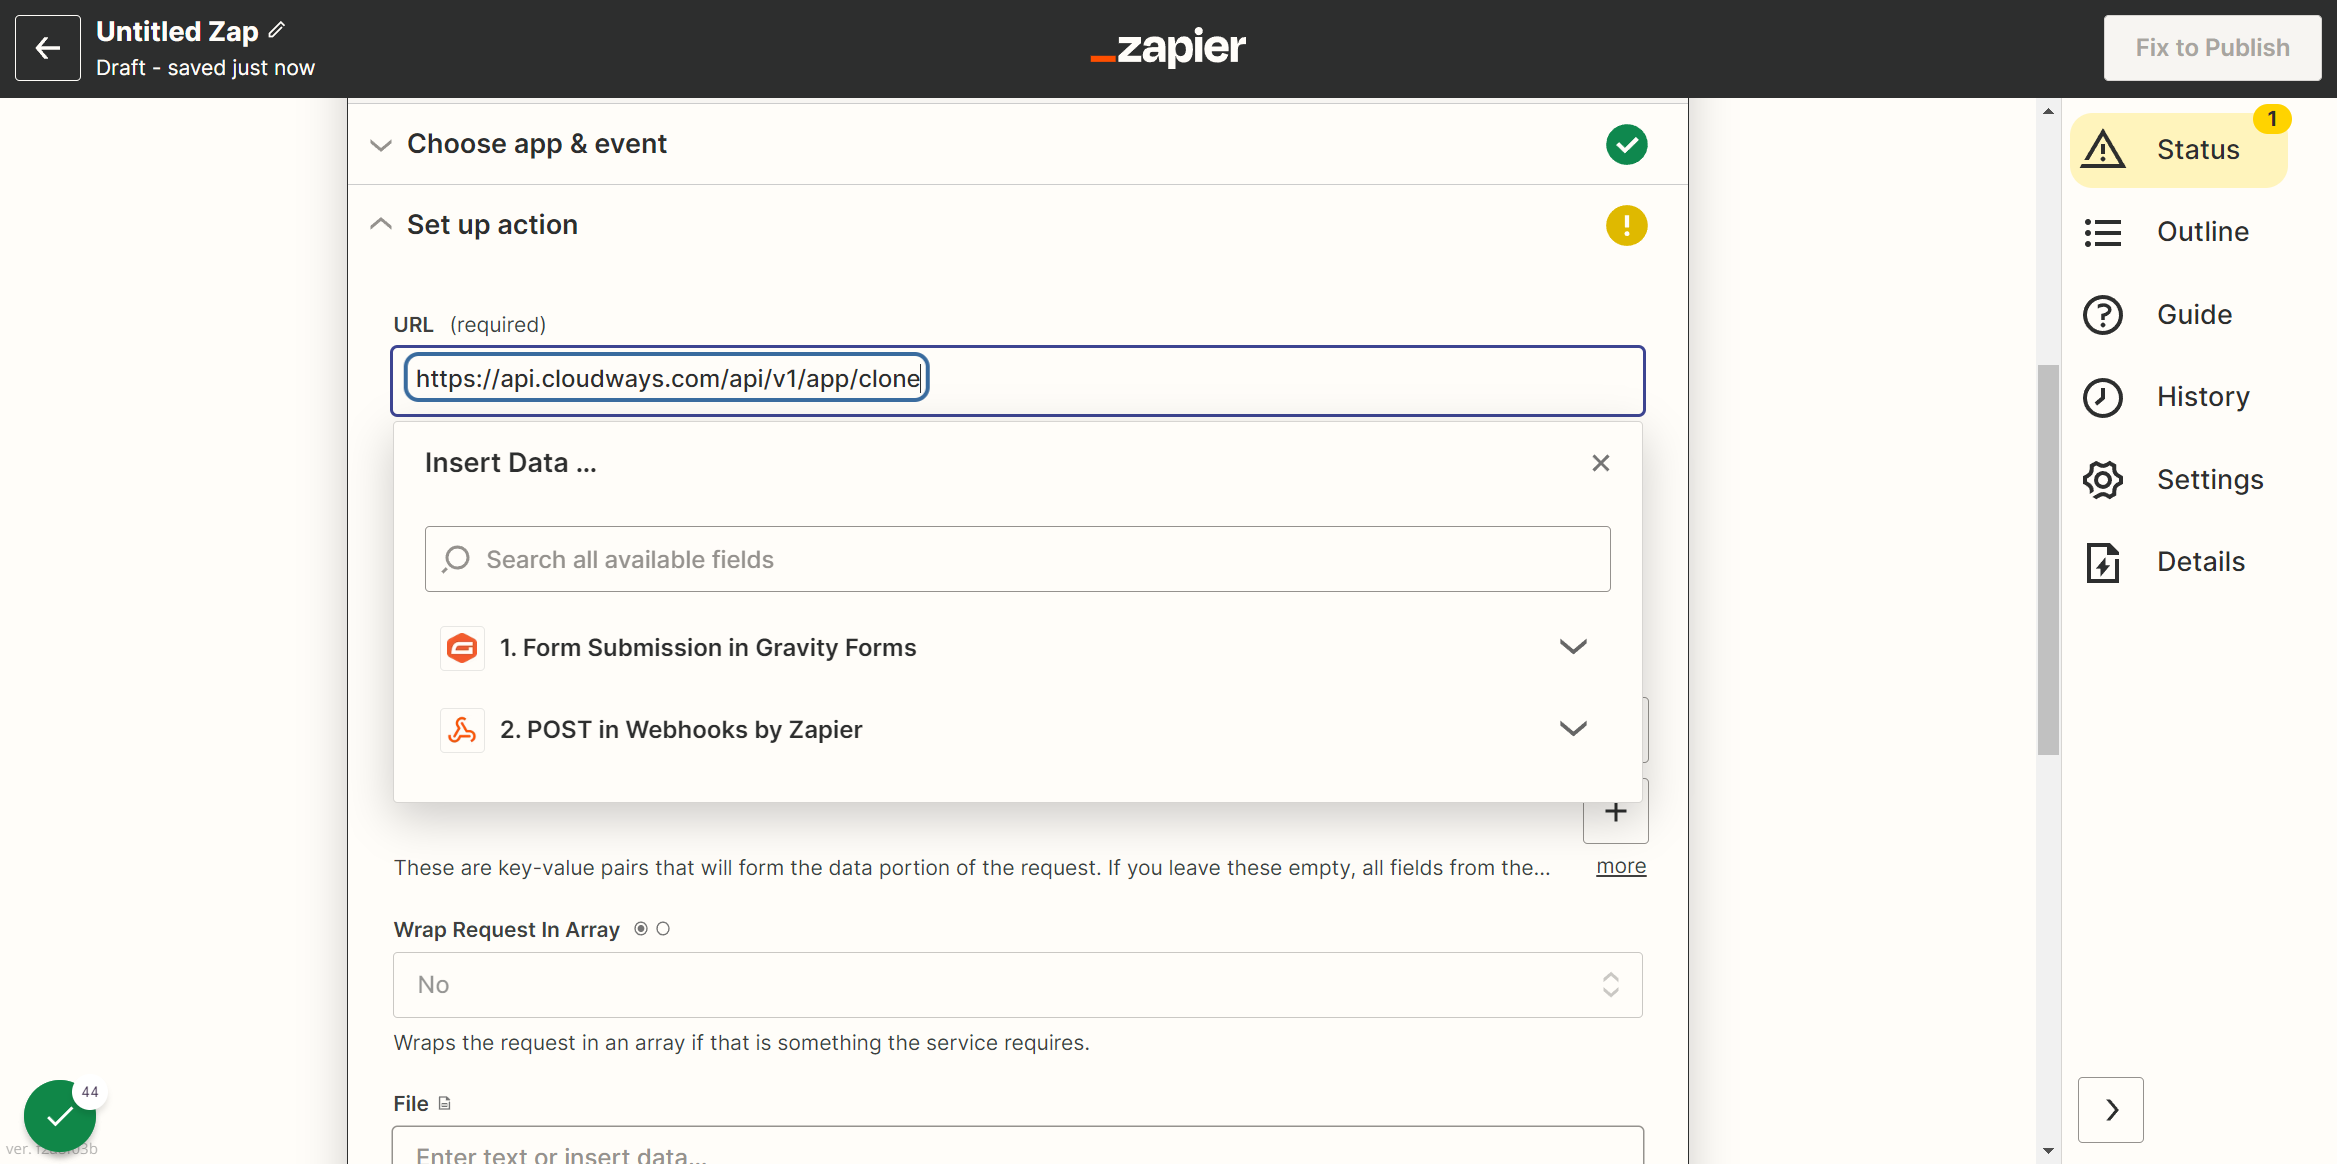
For this clone operation, we need the endpoint URL of: https://api.cloudways.com/api/v1/app/clone
19. Paste “https://api.cloudways.com/api/v1/app/clone” into the URL field
20. Go back to Cloudways API Documentation
Take note of the required data attributes to include. In this case, we need to include server_id, app_id, and app_label in our API call.
https://developers.cloudways.com/docs/#!/ApplicationApi#cloneApp
21. Add the parameters for this clone operation
Type in data attribute keys as shown below: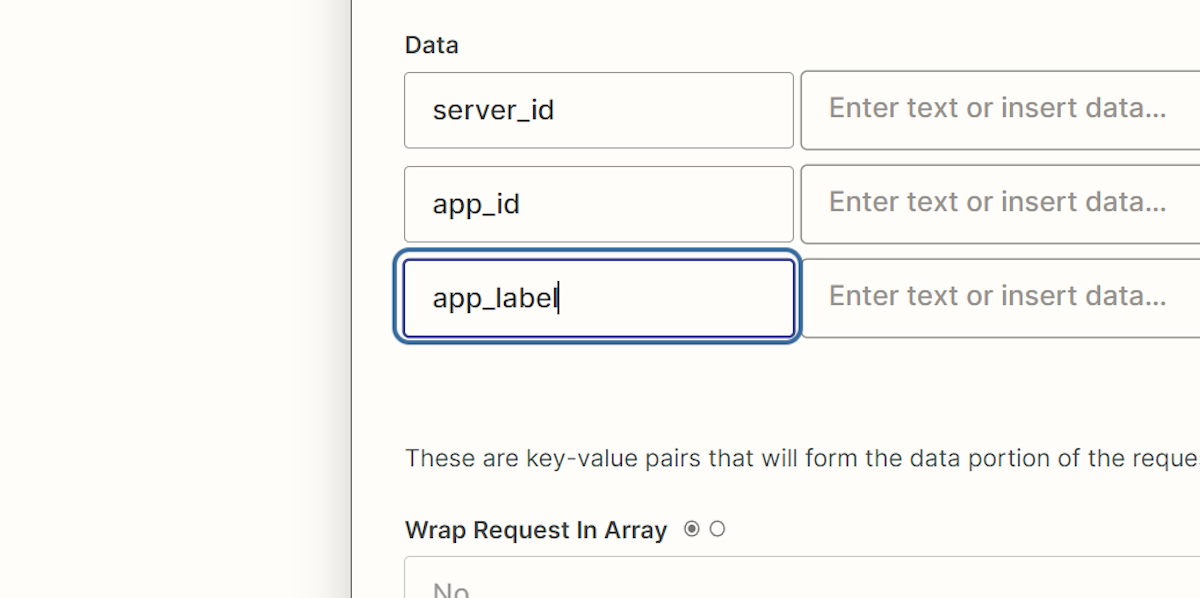
22. Name your new app (the result of the clone)
The app_label can be anything you want. Include dynamic data from previous steps or give it a static name. In my case, I’d give it some information from my Gravity Forms like the clients business name and the word staging so that the new clone app is standardized and unique.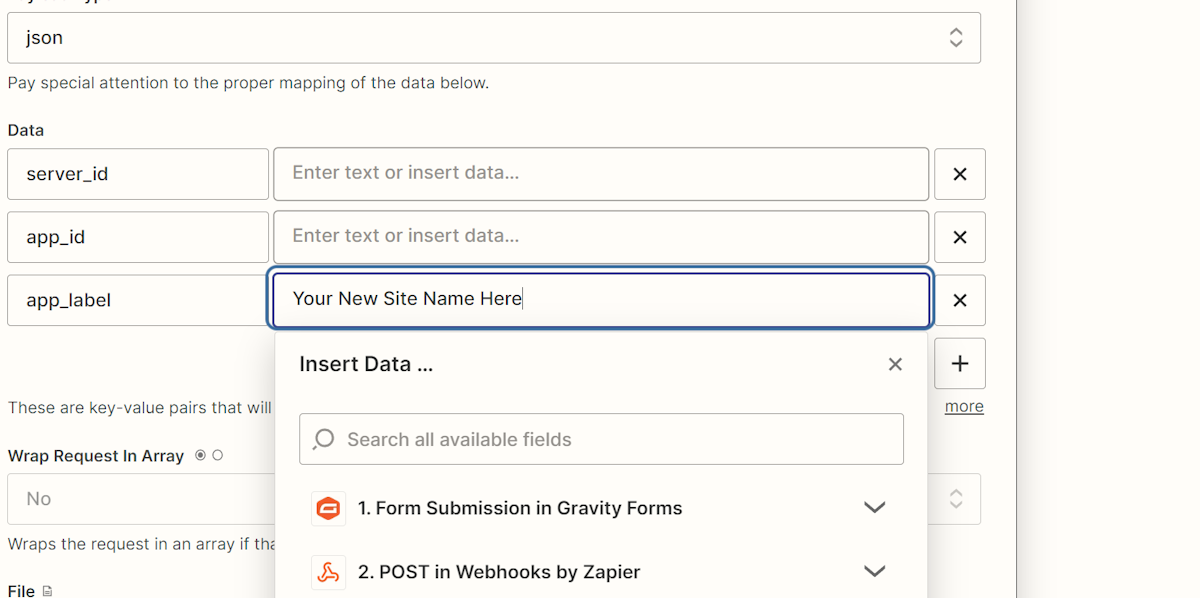
23. Find your server ID
Finding your server ID in Cloudways is very simple. All you need to do is browse to the server your source app currently resides on.
When you’re at the server settings screen, look in the address bar and you’ll see a series of digits. That’s your server ID.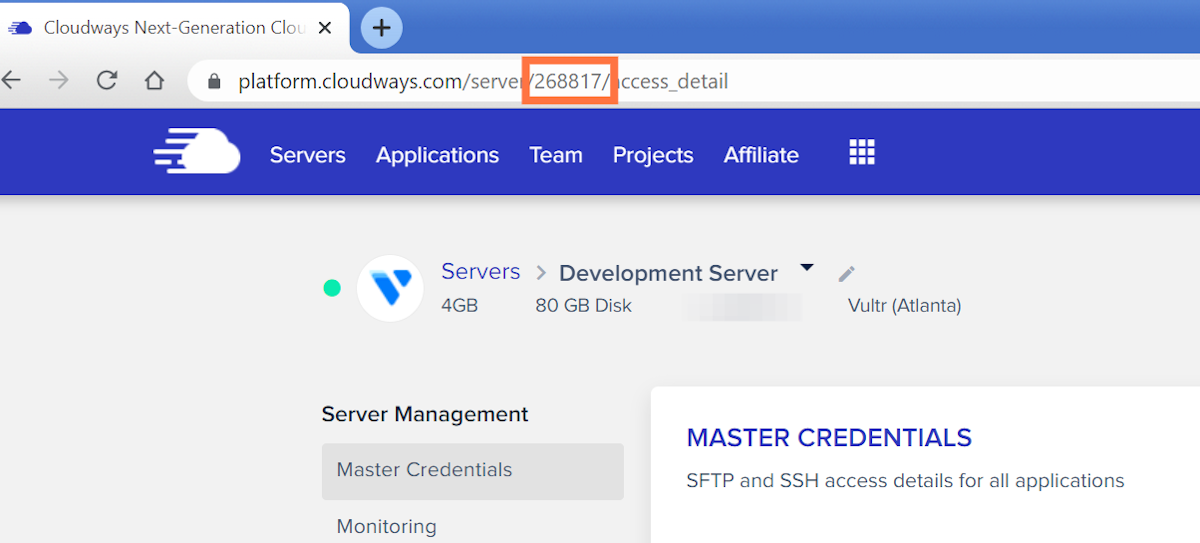
24. Paste that server ID into your Zapier webhook step
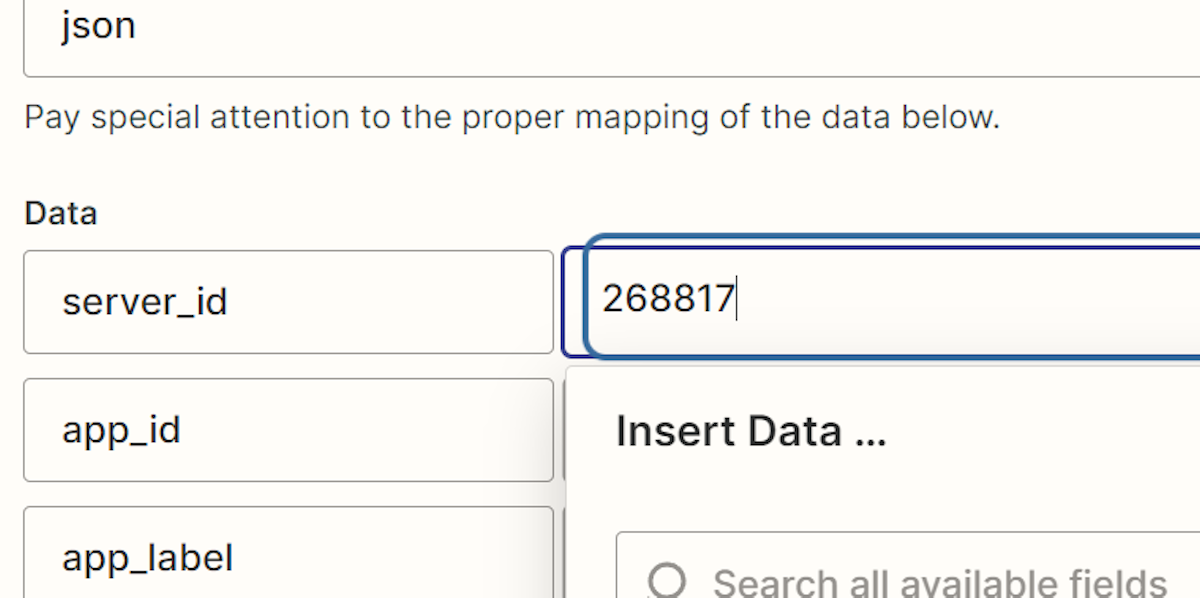
25. Repeat the same process to find your app ID
Browse to the app and again note the ID in the URL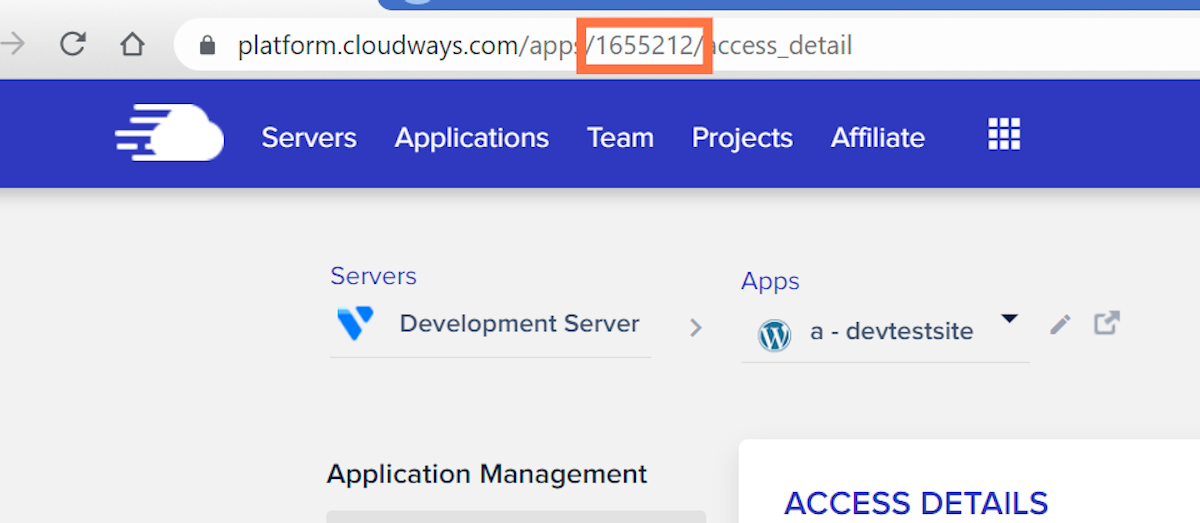
26. Go back to Zapier and paste in the app_id
Note: this is the source app, the one that you want to clone. Make sure you’ve entered the correct app ID here.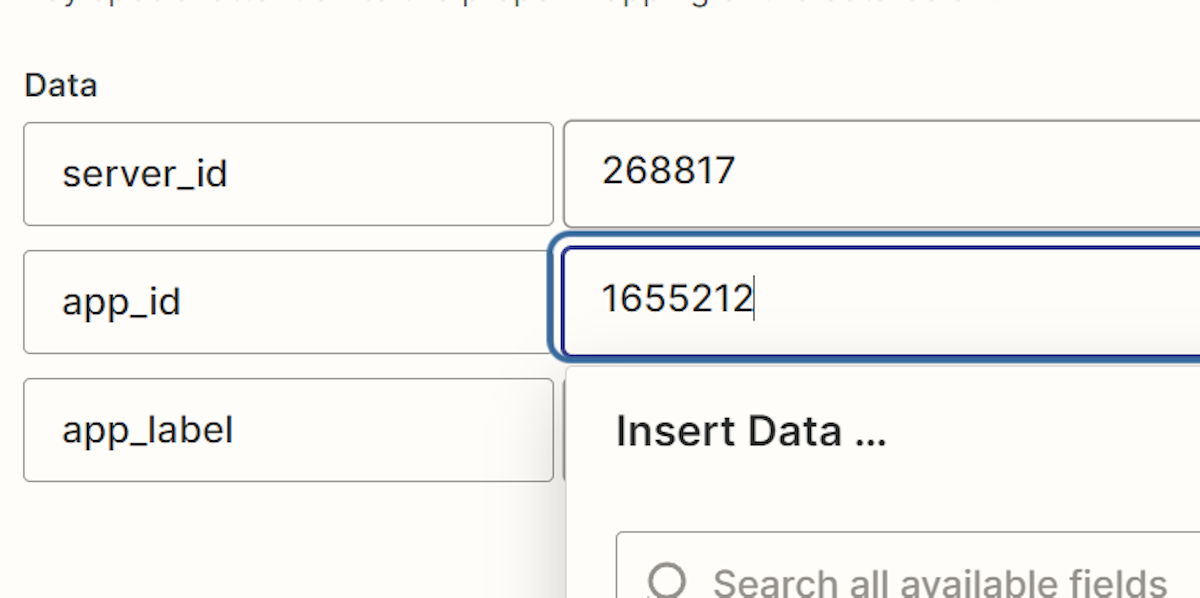
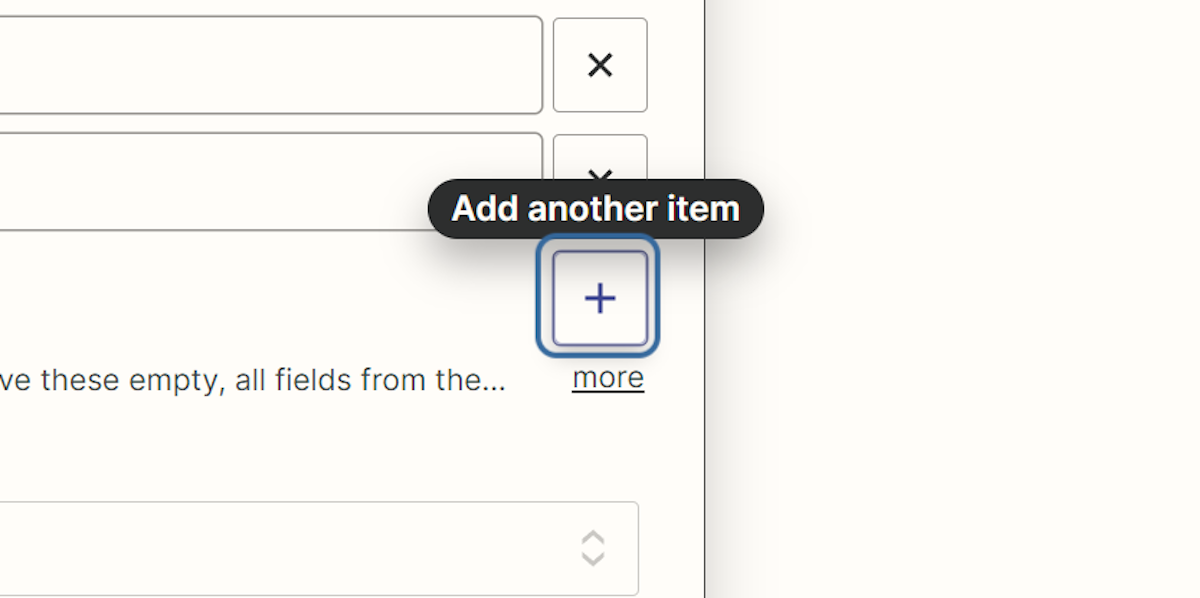
27. Add another data row
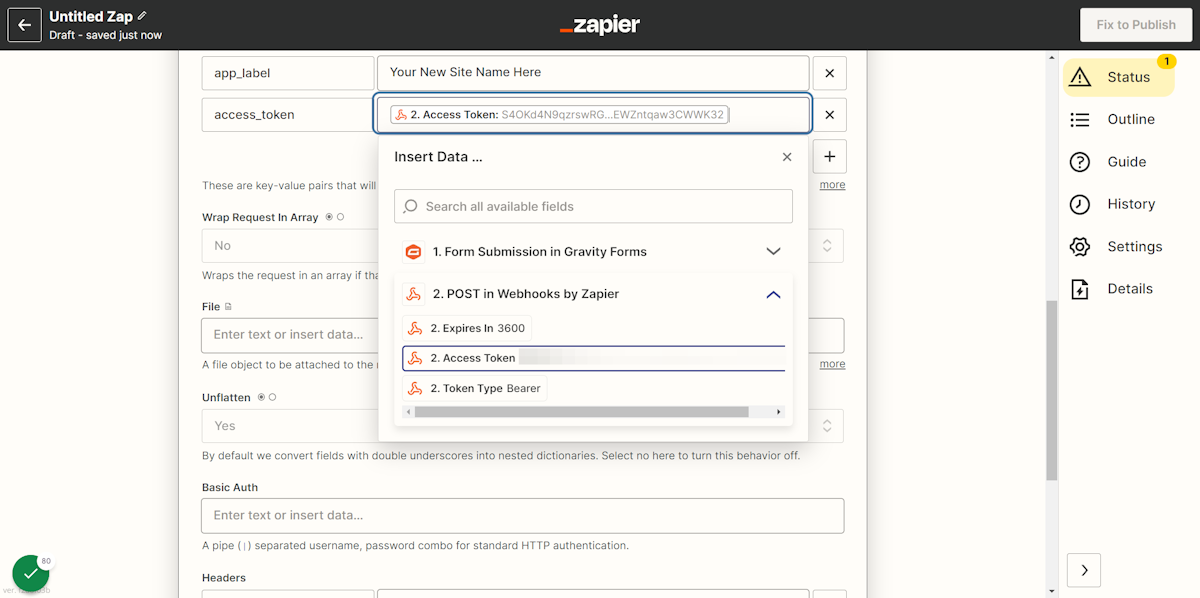
28. Type “access_token”
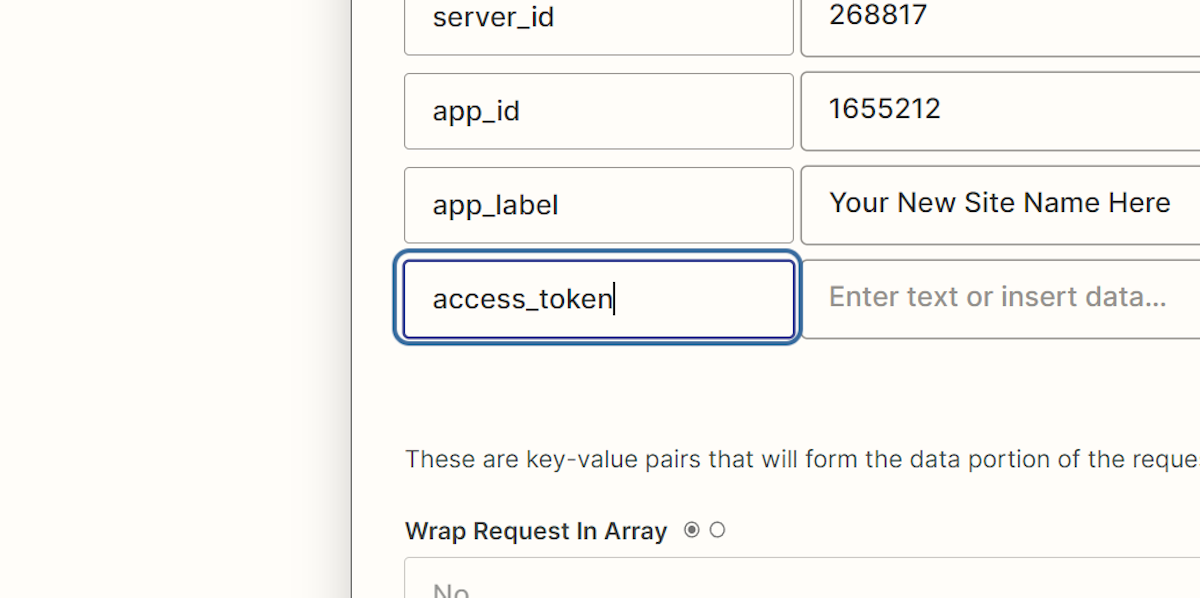
29. Click into that data field to expand the dynamic data dropdown
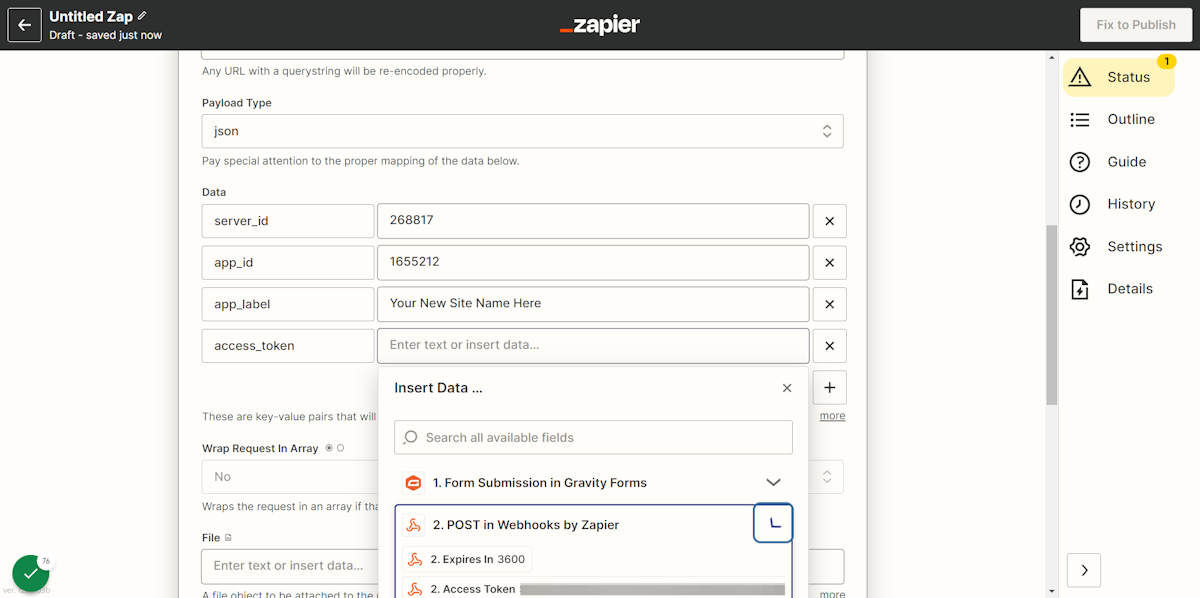
30. Click on Access Token from your authentication step earlier
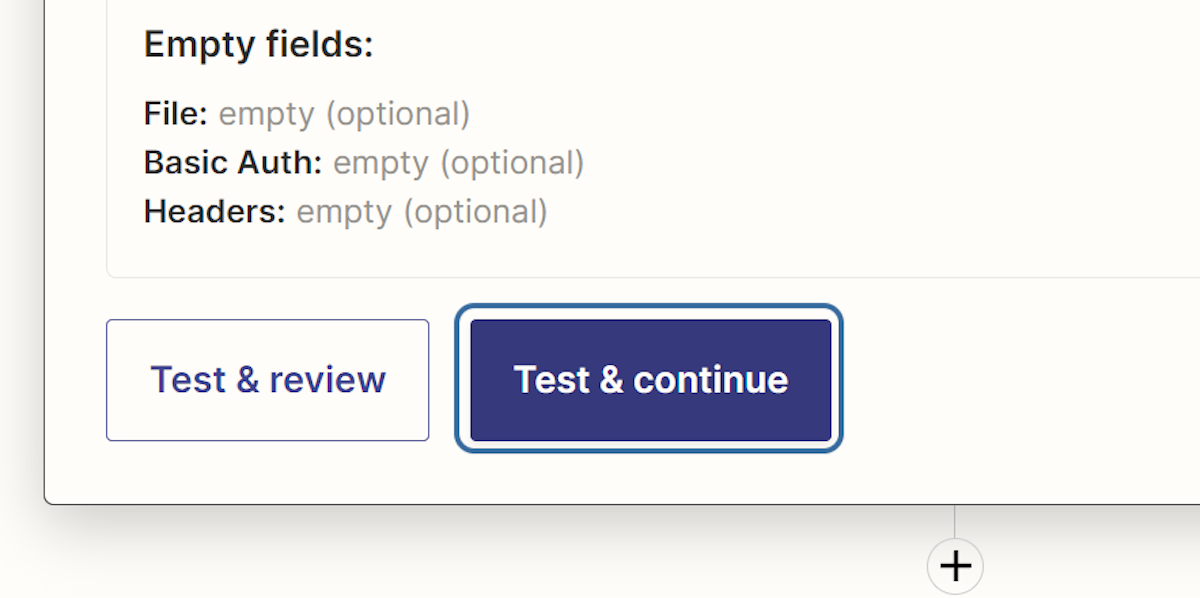
31. Now, continue and test
32. Now go to Cloudways as the clone operation should be in progress
33. View all your servers
You should now see a clone operation is in progress!
34. Add additional steps if you’d like
If you’re going to add any additional steps, considering adding a “Delay by Zapier” of about 5 minutes so the clone operation completes successfully.
Then, you can add another Webhook action for whatever you want. In my case, I am using the app credentials endpoint to automatically add FTP credentials to the newly cloned app.
The same general principle applies: Find the API endpoint, send the required data parameters, and include your access token.
Easy!
